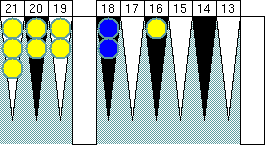
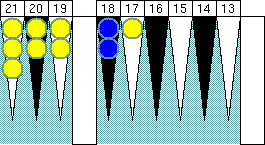
Single Direct Shots

Positions that Blue has a single direct shot are listed. Blue is on roll in all positions shown in this page.

Each dice table marks dice numbers that hit with either  or .
 

is used when each die number can hit Yellow's blot checker without help of the other. For example, any dice rolls containing 6 can hit a checker on a point 6 pips away, and are marked with this black box.
is used when combination of both dice numbers are required to hit Yellow's blot checker. For example, dice rolls like 4 and 2 can hit a checker on a point 6 pips away by using both numbers, and are marked with this pink box.
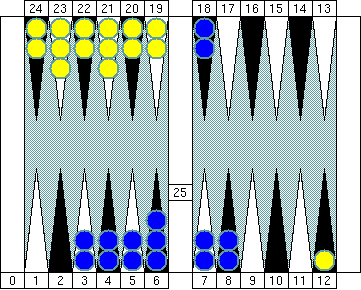
 

6 pips away

shot_s06
 
b1
b2
b3
b4
b5
b6
r1
r2
r3
r4
r5
r6
17 numbers
 

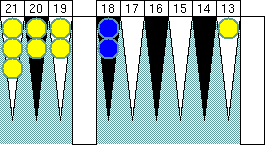
5 pips away

shot_s05
 
b1
b2
b3
b4
b5
b6
r1
r2
r3
r4
r5
r6
15 numbers
 

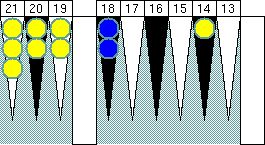
4 pips away

shot_s04
 
b1
b2
b3
b4
b5
b6
r1
r2
r3
r4
r5
r6
15 numbers
 

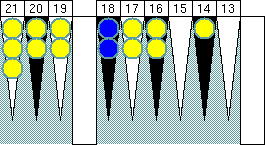
4 pips away with blocked points

shot_s04_b02
 
b1
b2
b3
b4
b5
b6
r1
r2
r3
r4
r5
r6
13 numbers
 

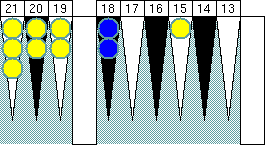
3 pips away

shot_s03
 
b1
b2
b3
b4
b5
b6
r1
r2
r3
r4
r5
r6
14 numbers
 

2 pips away

shot_s02
 
b1
b2
b3
b4
b5
b6
r1
r2
r3
r4
r5
r6
12 numbers
 

1 pip away

shot_s01
 
b1
b2
b3
b4
b5
b6
r1
r2
r3
r4
r5
r6
11 numbers
 

Created by Sho Sengoku